
Best Free MySQL Database Hosting Providers
Unless you are using a static website to promote your business, you’ll need a database. Your database is used to store all of the content of your site.
Using a database means that you can easily update your website content and take advantage of CMS tools like WordPress. That being said, a database alone won’t get you very far – you’ll need a website host that offers both free PHP hosting and also MySQL database hosting.
Overview of the Best MySQL Database Hosting Providers
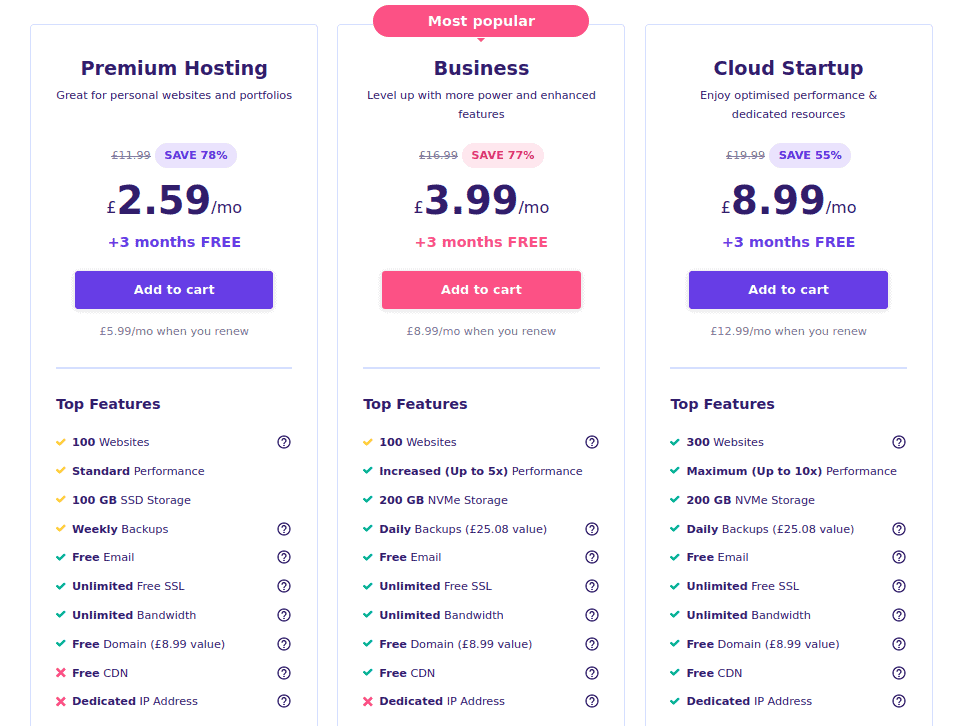
1. Hostinger
BEST FOR – Unlimited MySQL Databases
Although Hostinger isn’t a strictly free provider, they are definitely worth a mention. If you’re looking for reliable web hosting with free MySQL hosting, Hostinger is a sure bet that you don’t want to miss out on.
From £2.59 per month, you’ll get access to unlimited MySQL database as well as a 30-day money-back guarantee. There’s really nothing to lose! If you love Hostinger as much as I do, their premium web hosting offers unlimited MySQL databases for just £2.59 per month. That’s less than the price of a sandwich! If you want to know how great Hostinger is, check out my hosting review for an in-depth look at their services and performance.
Hostinger, in the last 30 days, has achieved a 99.9% uptime. Their server performance is transparent, allowing you to see the exact status at any given time. When I signed up to Hostinger, I installed WordPress via cPanel and monitored my site’s performance. It boasted an amazing response time of 263 ms which is absolutely brilliant. It’s hard to get better than this when you’re almost paying nothing for it.
If you want to trial Hostinger’s web hosting and MySQL databases for free you can do so with 000webhost. They are powered by Hostinger, giving you the easy option to upgrade whenever you want or need to. What’s more, if you’re not happy for any reason (which I’m sure you will be), there’s a money-back guarantee in place.

Pros
- MySQL databases
- hPanel
- Excellent performance
- WordPress optimised
- 99.9% uptime guarantee
Cons
- Free domain on yearly plans only
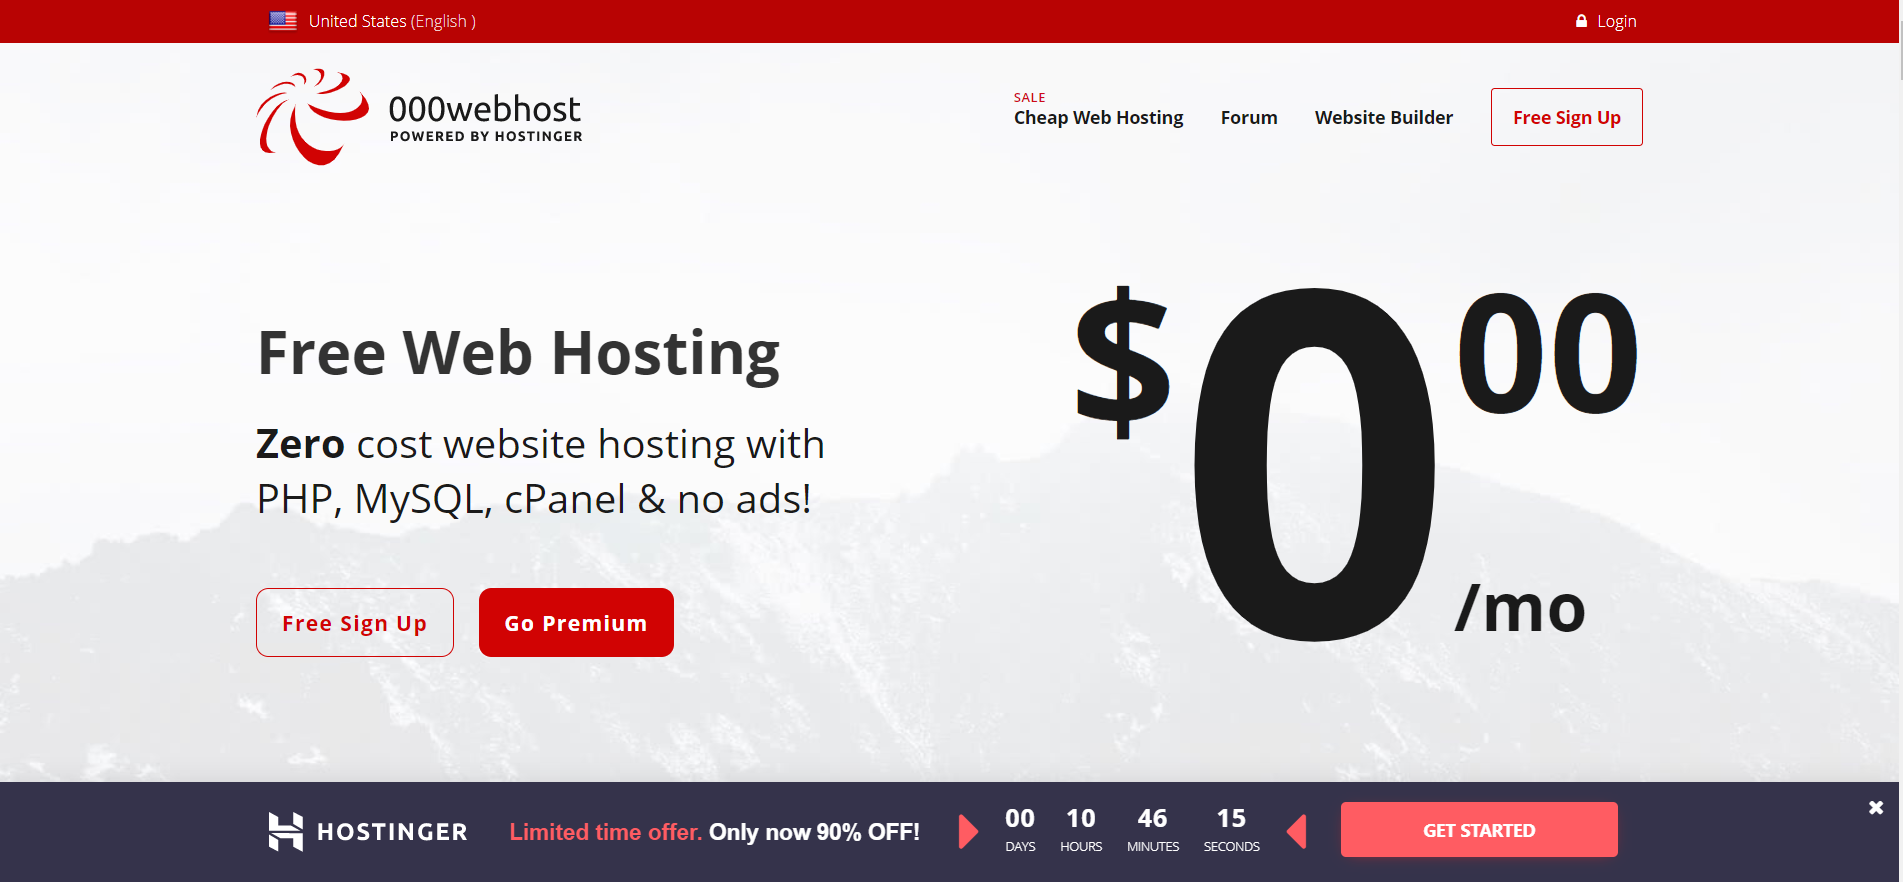
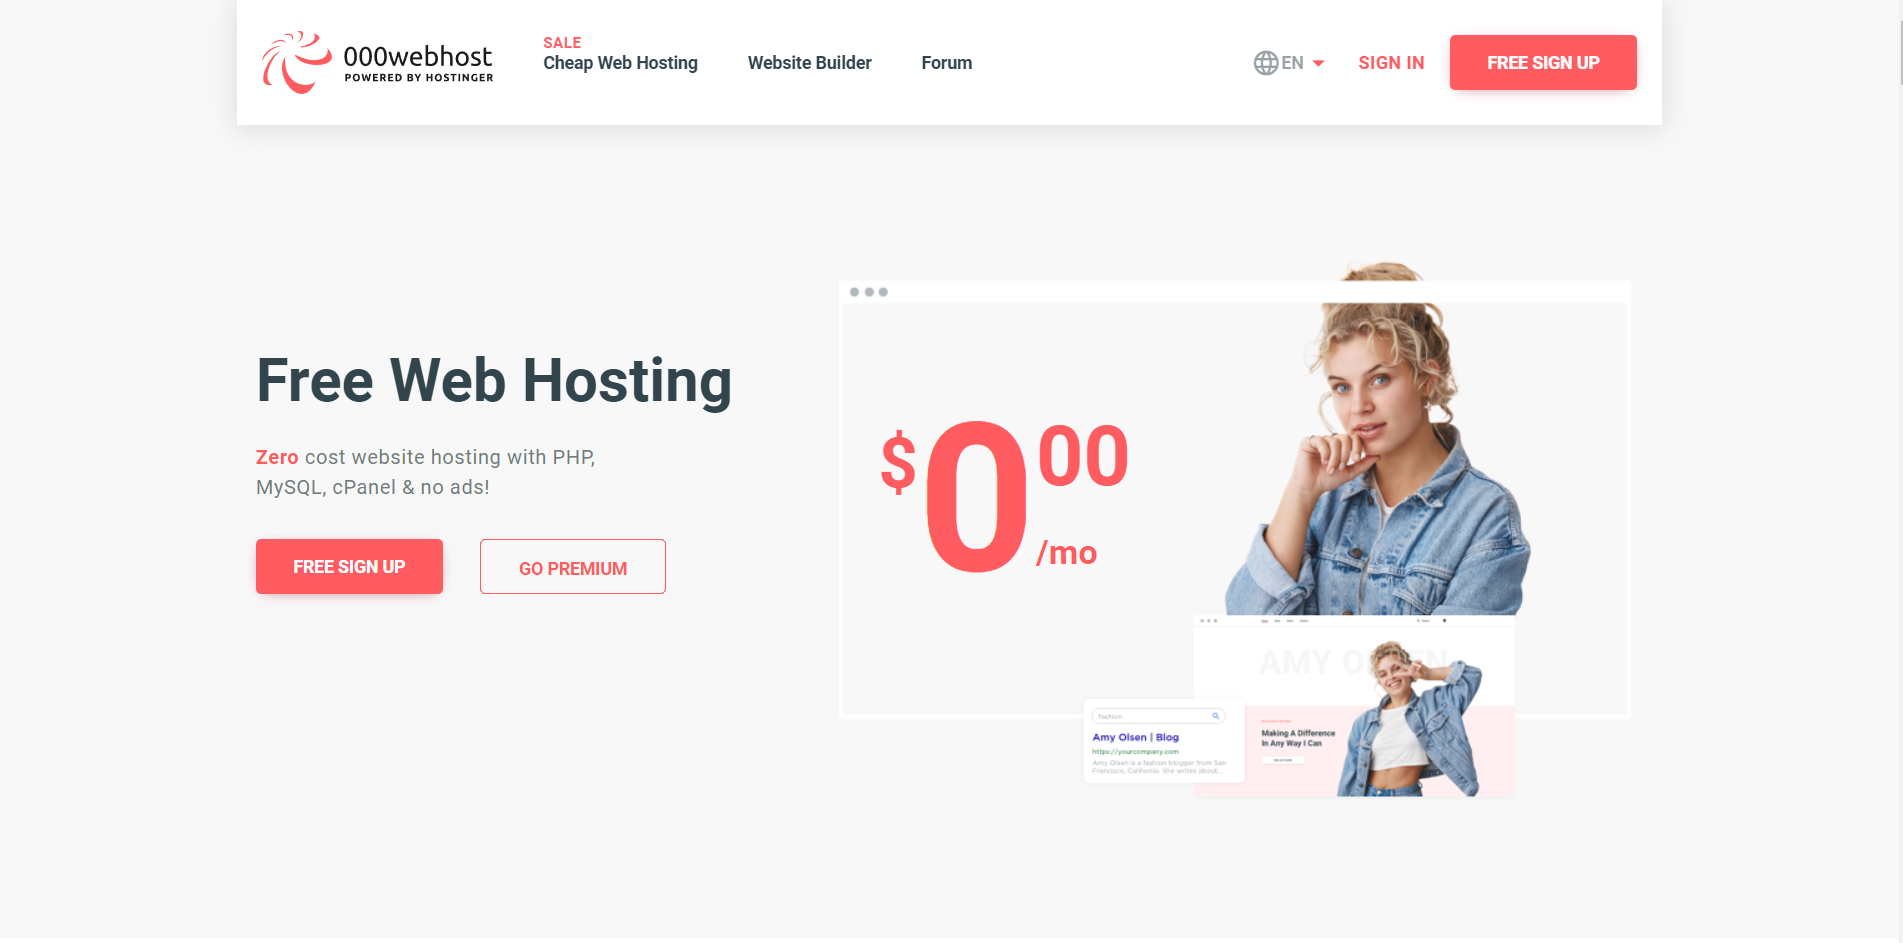
2. 000Webhost
BEST FOR – Small to medium PHP/ MySQL projects
If you’re looking for free MySQL database hosting, then look no further than 000Webhost. I previously covered this hosting provider in our Complete List of Free WordPress Hosting for 2019 article. 000Webhost has some awesome free deals, however, they don’t offer customer support with their free packages, which is a bit of a letdown.
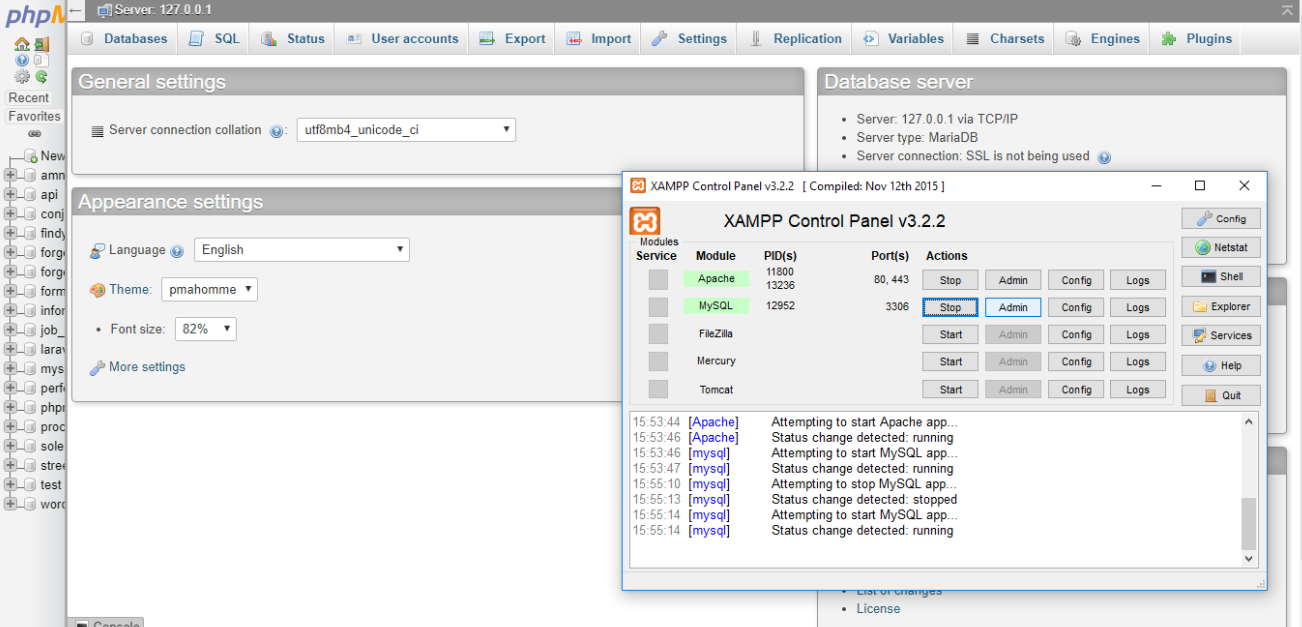
000Webhost offers you 1GB bandwidth for free and you get free MySQL hosting as part of the deal. All of the free accounts from 000Webhost come with free MySQL databases and access to phpMyAdmin to administer your account.
You have full control over your MySQL database with 000webhost, you are only limited to the amount of data that you can add in with the free plan. In fact, you can use up to two MySQL databases for free with 000Webhost, which is more than a lot of hosting providers on this list.
Upgrading is easy, so once you run out of space you can jump up to one of their paid plans which are super cheap. If you upgrade to a premium plan from 000webhost then you’ll be sent over to Hostinger. You can then grab a free SSL certificate, free business email address, WordPress optimized hosting and 100GB bandwidth – all for just £0.79 per month.
Click Here To Visit 000WebHost
Pros
- phpMyAdmin
- cPanel
- No adverts
- 99.99% Uptime Guarantee
Cons
- No Customer support on the free plan
3. GoogieHost
BEST FOR – Free MySQL, PHP cloud-based hosting
GoogieHost offers free MySQL and PHP hosting that offers you everything you’d get from a paid web host. There will be no ads on your sites and they’ll be powered by solid-state drives (SSDs) which are much faster than traditional drives.
You also get a free SSL certificate for free from GoogieHost, which is ideal for making your site SEO-friendly. Currently, Googiehost is home to 165,654 websites in locations all around the world. Their hosting is optimized for the latest PHP, MySQL versions and extensions. Their servers come with Cloudflare and Cloud Linux, which is unusual for a free service.
GoogieHost is a 100% cloud-based hosting service that offers 1000MB of SSD space and 100GB bandwidth for free. Unlike other hosts, you’ll also be able to access customer support, even on the free plan should you get stuck.
If you want to host multiple websites, require a lot of traffic or disk space then you’ll need to upgrade to one of their premium plans.

Click Here To Visit Googiehost
Pros
- 24/7 customer support
- One-click app installer
- cPanel
- Free subdomains
- 99.9% uptime guarantee
Cons
- None
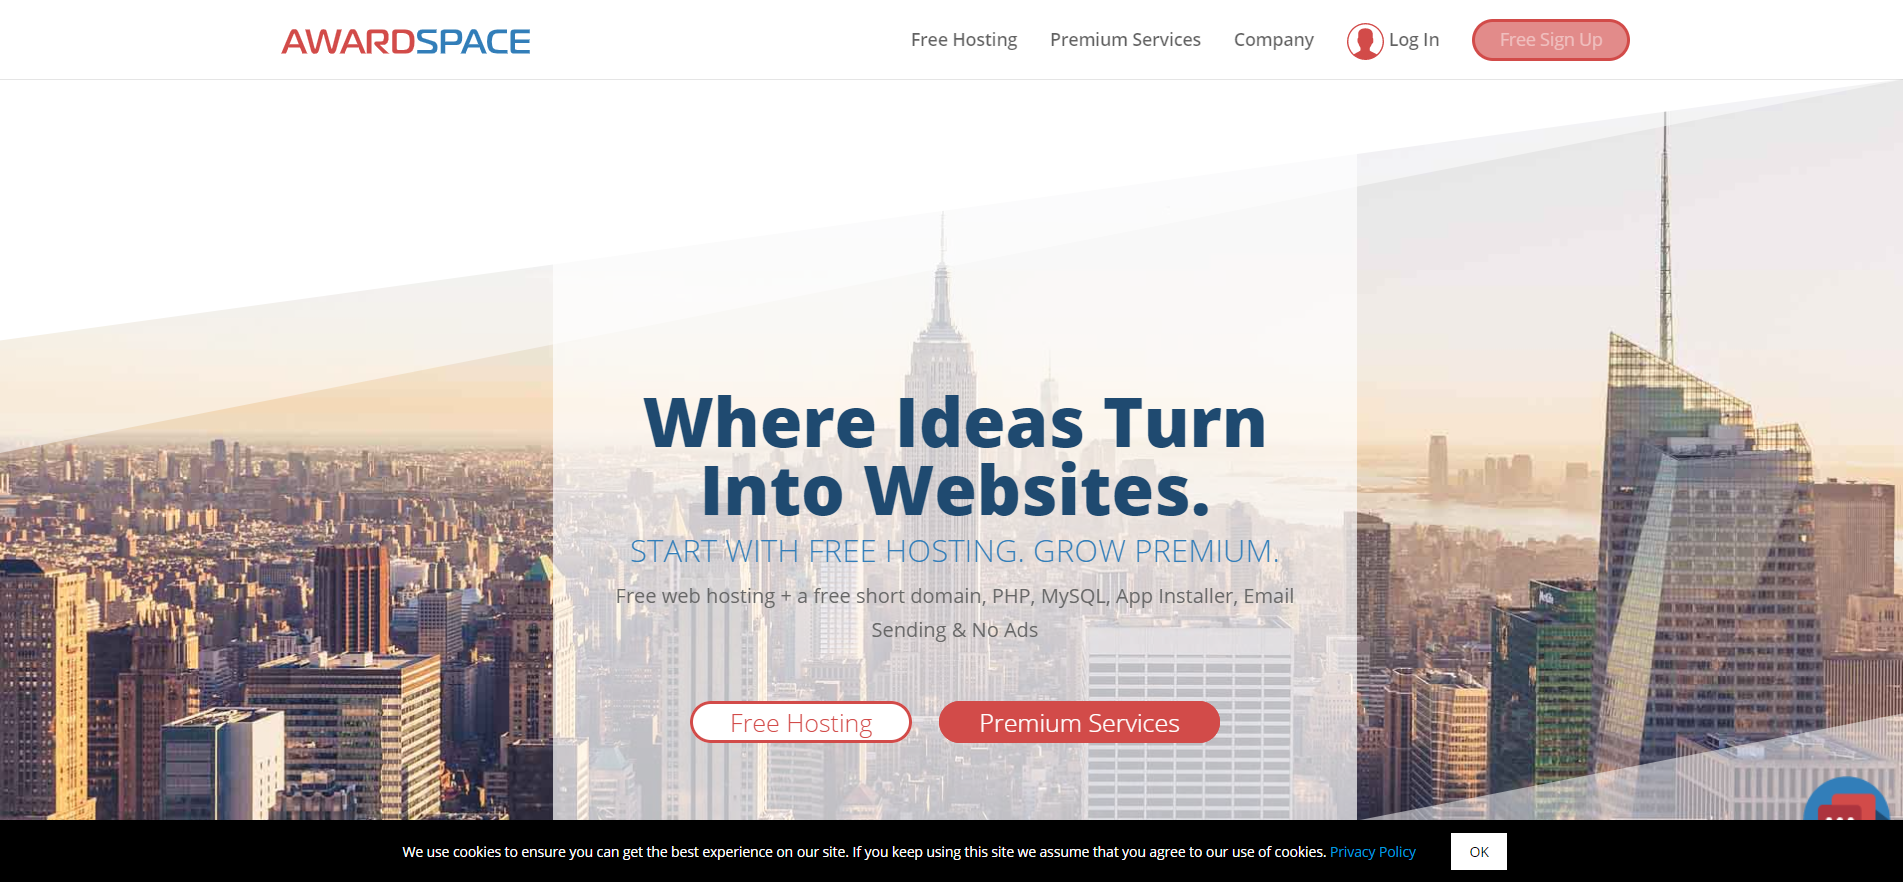
4. AwardSpace
BEST FOR – Adless free German MySQL DB hosting with customer support
Awardspace offers free MySQL hosting where you can host up to 4 websites and add up to three subdomains. Awardspace also allow you to use a one-click app installer, so you can have your CMS up and running in minutes. They also offer customer support, even for their free hosting services, which is ideal.
With the free hosting account from Awardspace you get 5GB bandwidth and 1000MB disk space as well as a full MySQL database. Awardspace is continually optimizing their service and are known for their 100% free hosting packages.
Awardspace offers some nice analytical tools so that you can monitor your bandwidth usage to make sure that your site doesn’t go offline. This is great for SEO as you can ensure that you have more than enough space to keep your website online consistently.
Click Here To Visit Awardspace
Pros
- Adless hosting
- 24/7 customer support
- Analytic tools
Cons
- Limited space
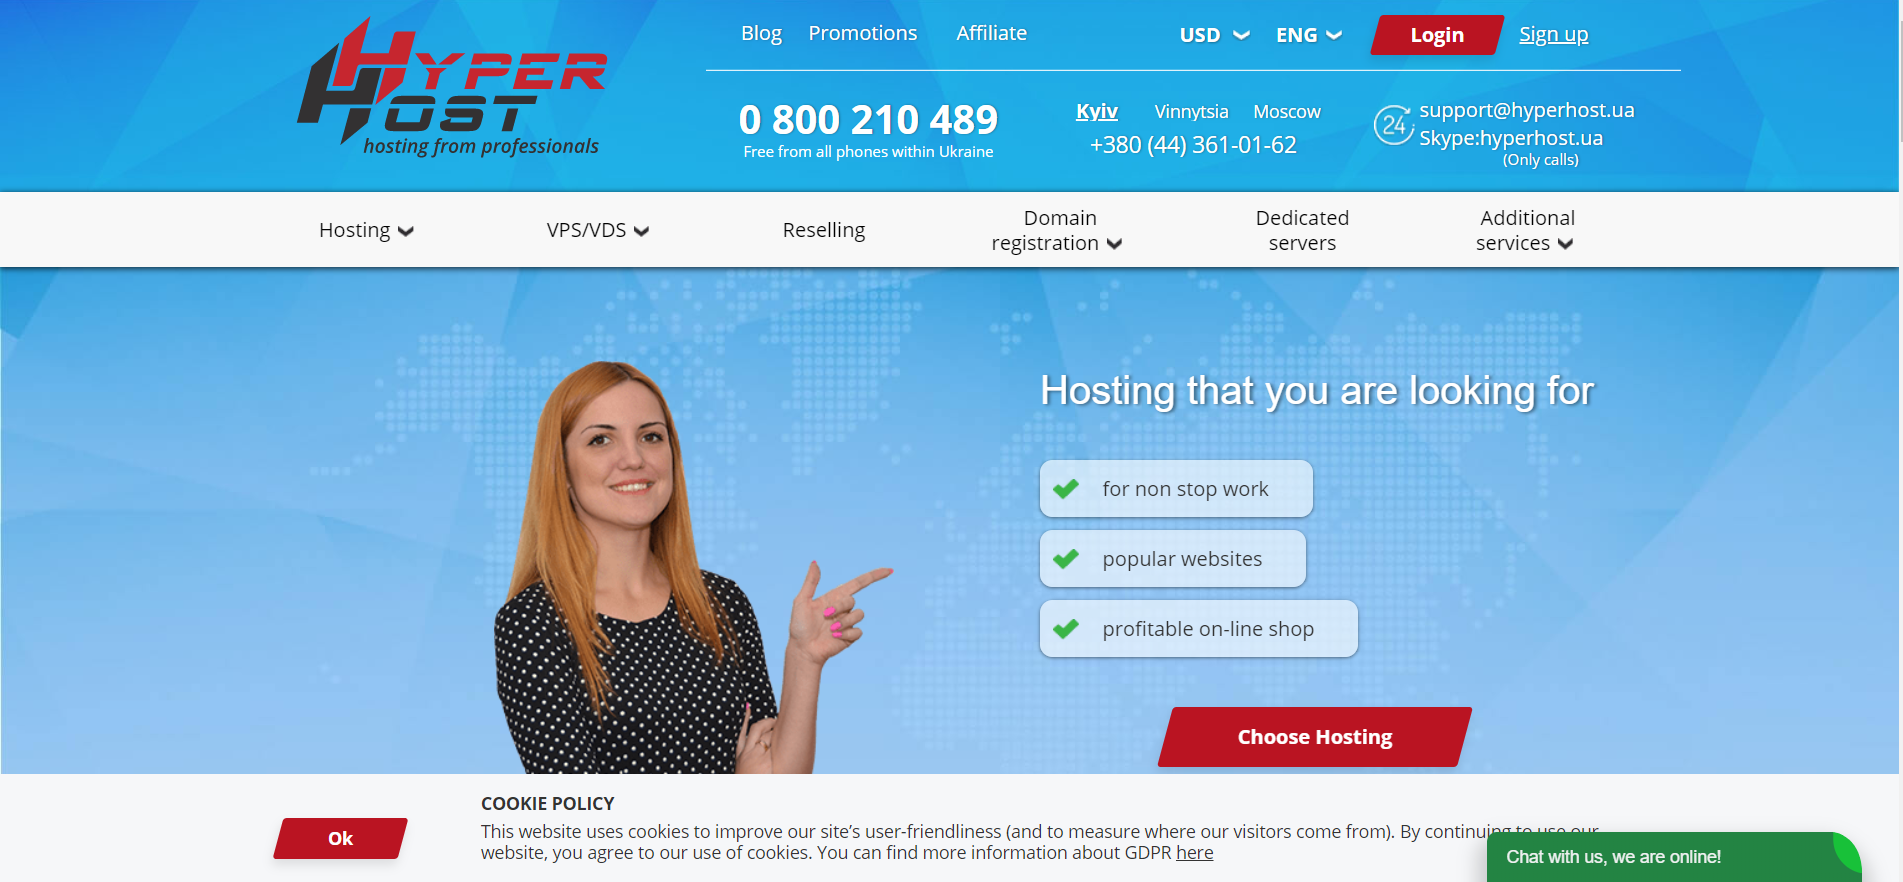
5. HyperHost
Best for – Adless free hosting for up to 20 websites hosted in Europe or Ukraine
Hyperhost offers a free hosting package with high-speed SSD drives. They offer free MySQL databases and FTP access so that you have full control over your website or app.
Unlike a lot of other free hosts, HyperHost offers 24/7 free customer support via chat, ticket, and phone. When a company offers this level of service for its free members I feel it says a lot about their business values.
The free hosting from HyperHost will get you 1GB SSD disk space, and allow you to host one website. If you need more space you can go for a free account that will support up to 20 websites and give you 15GB of disk space – completely free.
Hyperhost offers some amazing shared hosting packages on next-gen tech free of charge. Additionally, they have a pre-installed cPanel that allows you to install WordPress, Joomla or other CMS systems, all for free!
The only real downside to hosting with HyperHost is that they only have servers in Ukraine and Europe. This is not particularly useful if you are targeting website visitors from other countries, as Google ranks sites in relation to their server’s physical location.
Pros
- Free cPanel
- Up to 15GB disk space
- Host up to 20 websites for free
- 24/7 suppor
Cons
- Servers only in Europe and Ukraine
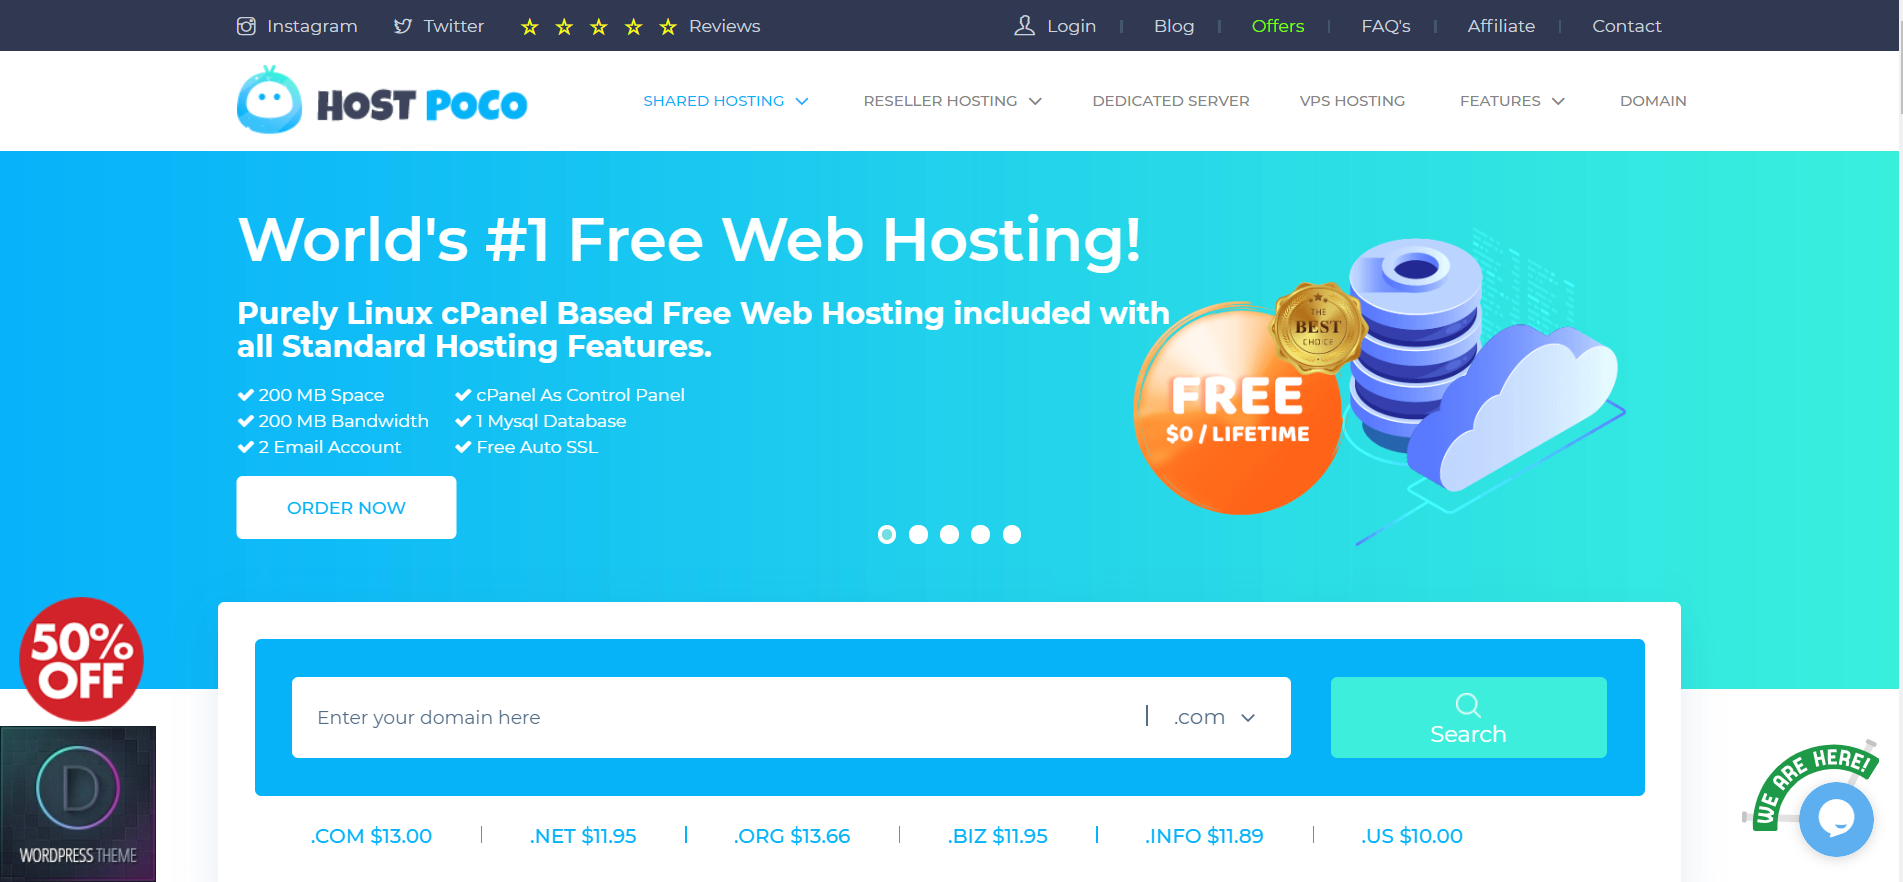
6. HostPoco
BEST FOR – US-based shared MySQL, PHP hosting
HostPoco proudly states that they are “the worlds #1 free web hosting providers”. Sounds nice, but how do they stack up against their competitors in real life? Let’s find out.
HostPoco offers 200MB disk space for free, which is more than most on this list. They also give you 2 free email accounts, a free SSL certificate, cPanel and just 1 MySQL database. ProFreeHost n the other hand offers unlimited disk space and unlimited bandwidth for free, so maybe they are better. The only thing that PrFreeHost doesn’t offer their free members is customer support.
HostPoco, on the other hand, offers 24/7/365 customer support via live chat and tickets. So they are definitely great in that respect.
The free hosting from HostPoco is offered for a lifetime unless you decide you want to upgrade.
Pros
- Lifetime free hosting
- 24/7/365 customer support
- 2 email accounts
- Free SSL certificate
Cons
- Just 200MB free disk space
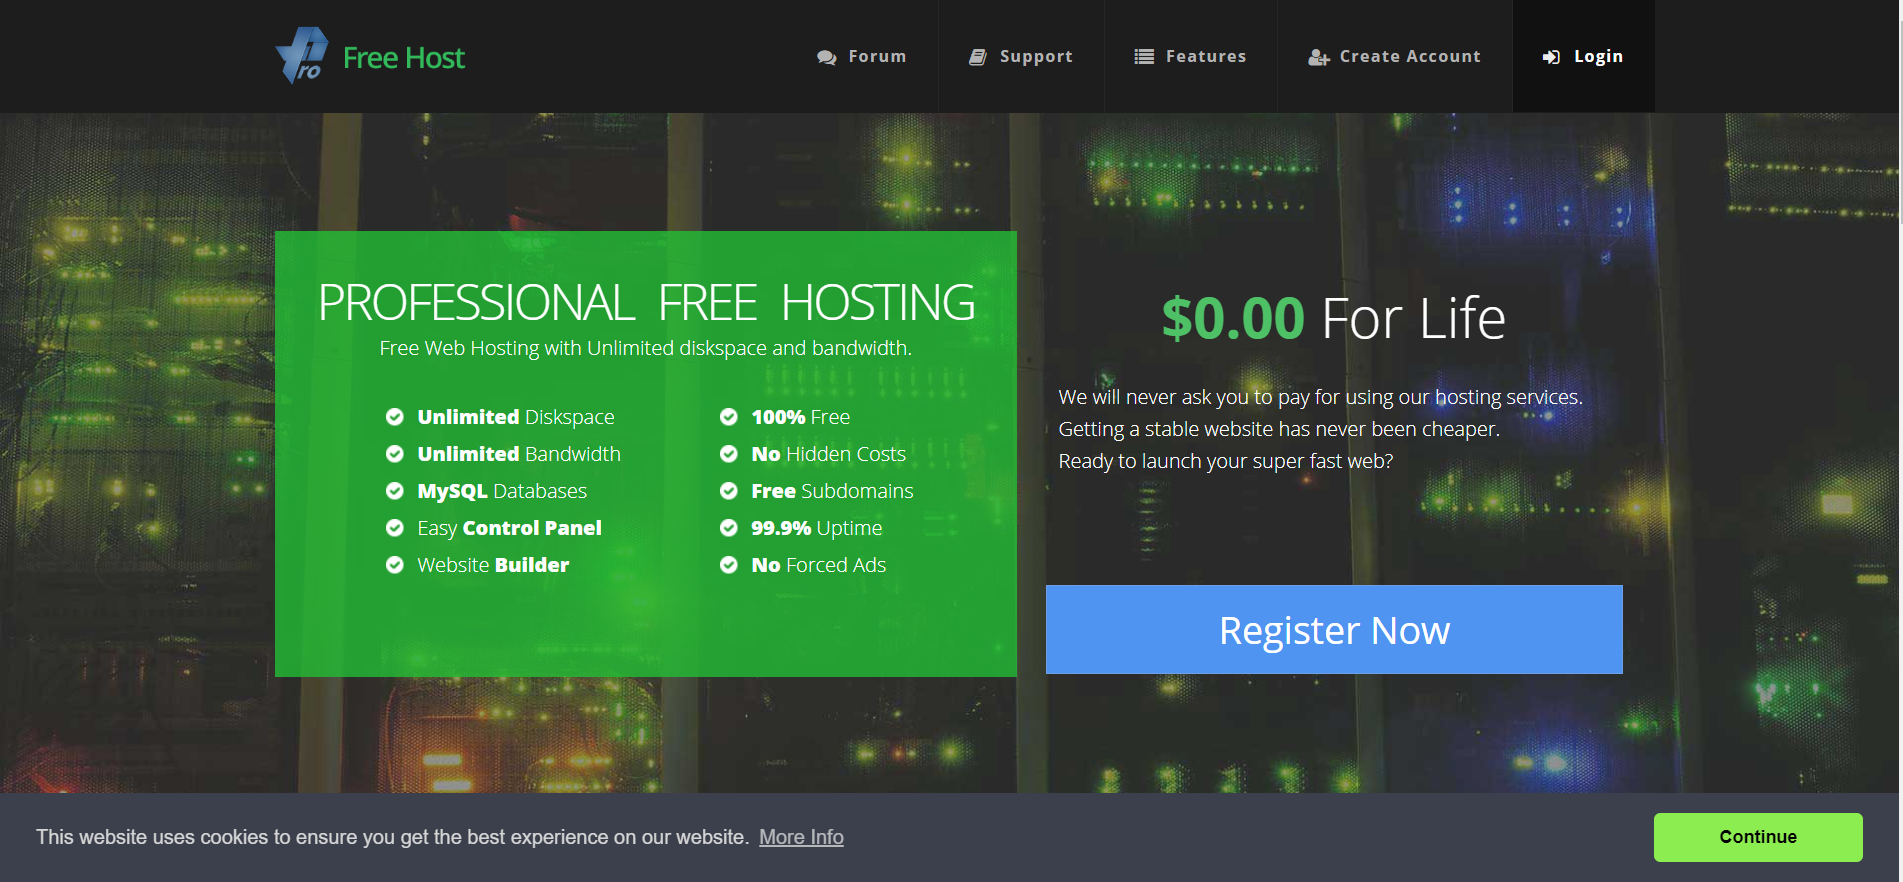
7. ProFreeHost
BEST FOR – 100% FREE PHP and MySQL website hosting
If you’re looking for a 100% free hosting provider for your MySQL databases then look no further than ProFreeHost. You get unlimited disk space, unlimited bandwidth, free subdomains and a web builder all 100% free.
The free service is paid for by using 3rd party ads, but they say they don’t force advertisements on your website.
ProFreeHost offers PHP versions of upto 7.0 and MySQL 5.6. Support is offered via their member’s forum and they also operate a ticketing system.
Click Here To Visit Profreehost
Pros
- 100% FREE for life
- cPanel
- One click installer
- Professional email addresses
Cons
- No live chat or phone support
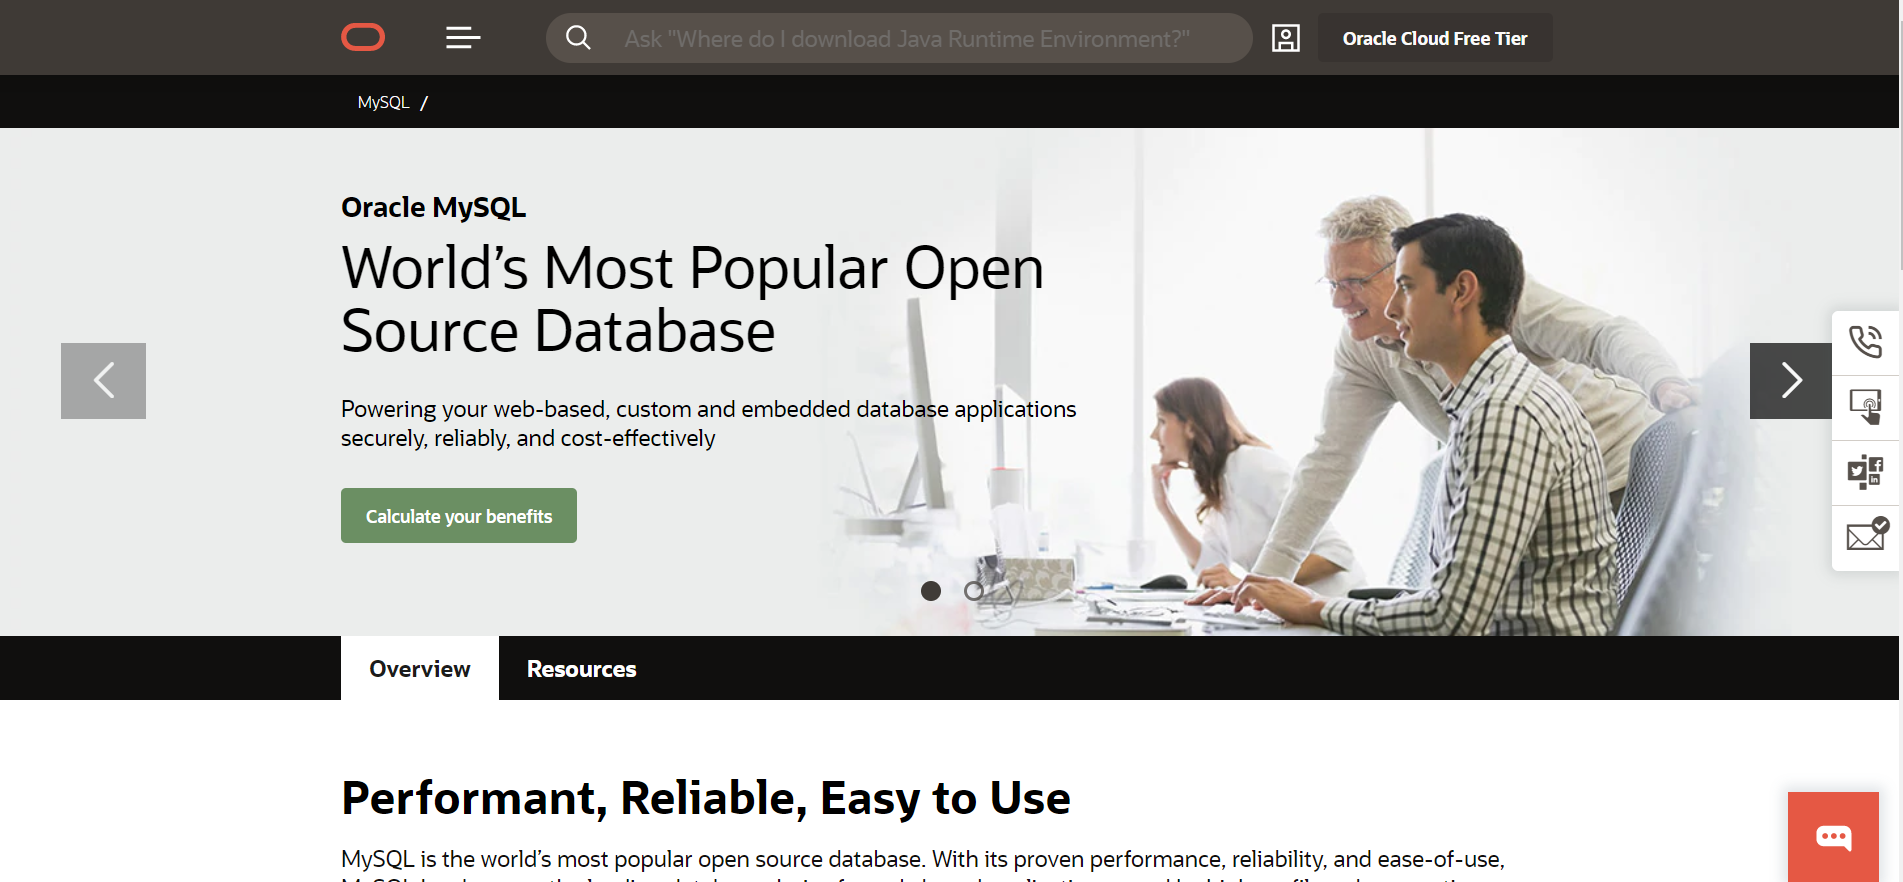
8. Oracle Cloud
BEST FOR – Professional web/ application developers
Oracle MySQL cloud offers MySQL in the cloud for free with a 30-day credit provision. Oracle Cloud offers a free promotional account that is active for 30-days. You can upgrade your account to a pay as you go account with no contract.
If you like to always go with the best of the best then you might like to host with Oracle cloud. The official MySQL owners. This service is best for professional developers that want complete freedom with their MySQL database and hosting.
You have the choice of signing up for a free trial, free credits or a paid subscription to get started with Oracle cloud. Oracle has some great tools that allow you to estimate your monthly usage with their “cost estimator”.
Being able to view exactly how many resources you are using is essential for cloud hosting packages, as they normally charge per hour or use.
Pros
- Host with the best
- Estimate usage
- Free trial or free credits available
- Flexible
- Scaleable
Cons
- Not for beginners
What is meant by MySQL Database?
MySQL is an open-source database management system, used by millions to power their dynamic websites. MySQL was developed back in 1995 by a Swedish company (MySQL AB) and later bought by Sun Microsystems. The Oracle Corporation now owns MySQL after they acquired Sun in 2010.
SQL stands for Structured Query Language. The “My” part is the name of the MySQL co-founder Michael Widenius’s daughter. We are now on the 8th version of MySQL.You’ll need a MySQL database if you are running a PHP powered website like Joomla, Magento or WordPress.
Is MySQL always free?
MySQL is free and open-source, however, you’ll need to find a host that offers MySQL server hosting if you want to use it for websites powered on the internet. In this article, we’ll explore seven of the best free MySQL hosts currently available online.
In Conclusion
It’s exciting how many hosts there are that offer 100% free MySQL hosting. As with any hosting solution, you’ll need to select one that fits your individual needs.
For example, check how much bandwidth you get with the free account and see if that fits the amount of traffic you predict will arrive on your website.
Some hosts like ProFreeHost offer 100% free unlimited hosting, so they are well worth a look if you are on a budget. Other hosts like Awardspace and Oracle are great for starting out for free, but you’ll need to upgrade when you need more disk space or bandwidth.


")


